How to Schedule a Text on iPhone: A Step-by-Step Guide
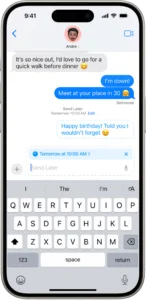
How to Schedule a Text on iPhone: In today’s fast-paced world, staying connected is essential. Whether it’s for business or personal use, scheduling texts can help you manage your communication effectively. In this guide, we’ll explore how to schedule a text on your iPhone, ensuring that your messages are sent at the perfect time without the need for manual intervention.
Why Schedule Texts?
Scheduling texts allows you to:
- Stay Organized: Plan your messages ahead of time, so you never miss important communications.
- Manage Reminders: Send reminders to friends or colleagues without needing to remember to do it at the right moment.
- Enhance Efficiency: Focus on your tasks while your iPhone handles the messaging for you.
Step-by-Step Guide to Schedule a Text on iPhone
Step 1: Use the Shortcuts App
Apple’s built-in Shortcuts app is a powerful tool that allows you to automate tasks, including scheduling texts. Here’s how to use it:
- Open the Shortcuts app. If you don’t have it, download it from the App Store.
- Create a New Shortcut:
- Tap the “+” icon in the top right corner.
- Select “Add Action.”
- Choose ‘Send Message’:
- Search for and select “Send Message.”
- Enter the recipient’s name or tap the “+” to select from your contacts.
- Type Your Message:
- Write the message you want to send.
- Set the Date and Time:
- Tap “Add Action” again and search for “Wait.”
- Set the duration until your message should be sent.
- Finalize Your Shortcut:
- After the wait action, add another action to send the message.
- Save your shortcut by tapping “Next” and giving it a name.
Step 2: Schedule Your Shortcut
Once your shortcut is created, you can schedule it to run at a specific time:
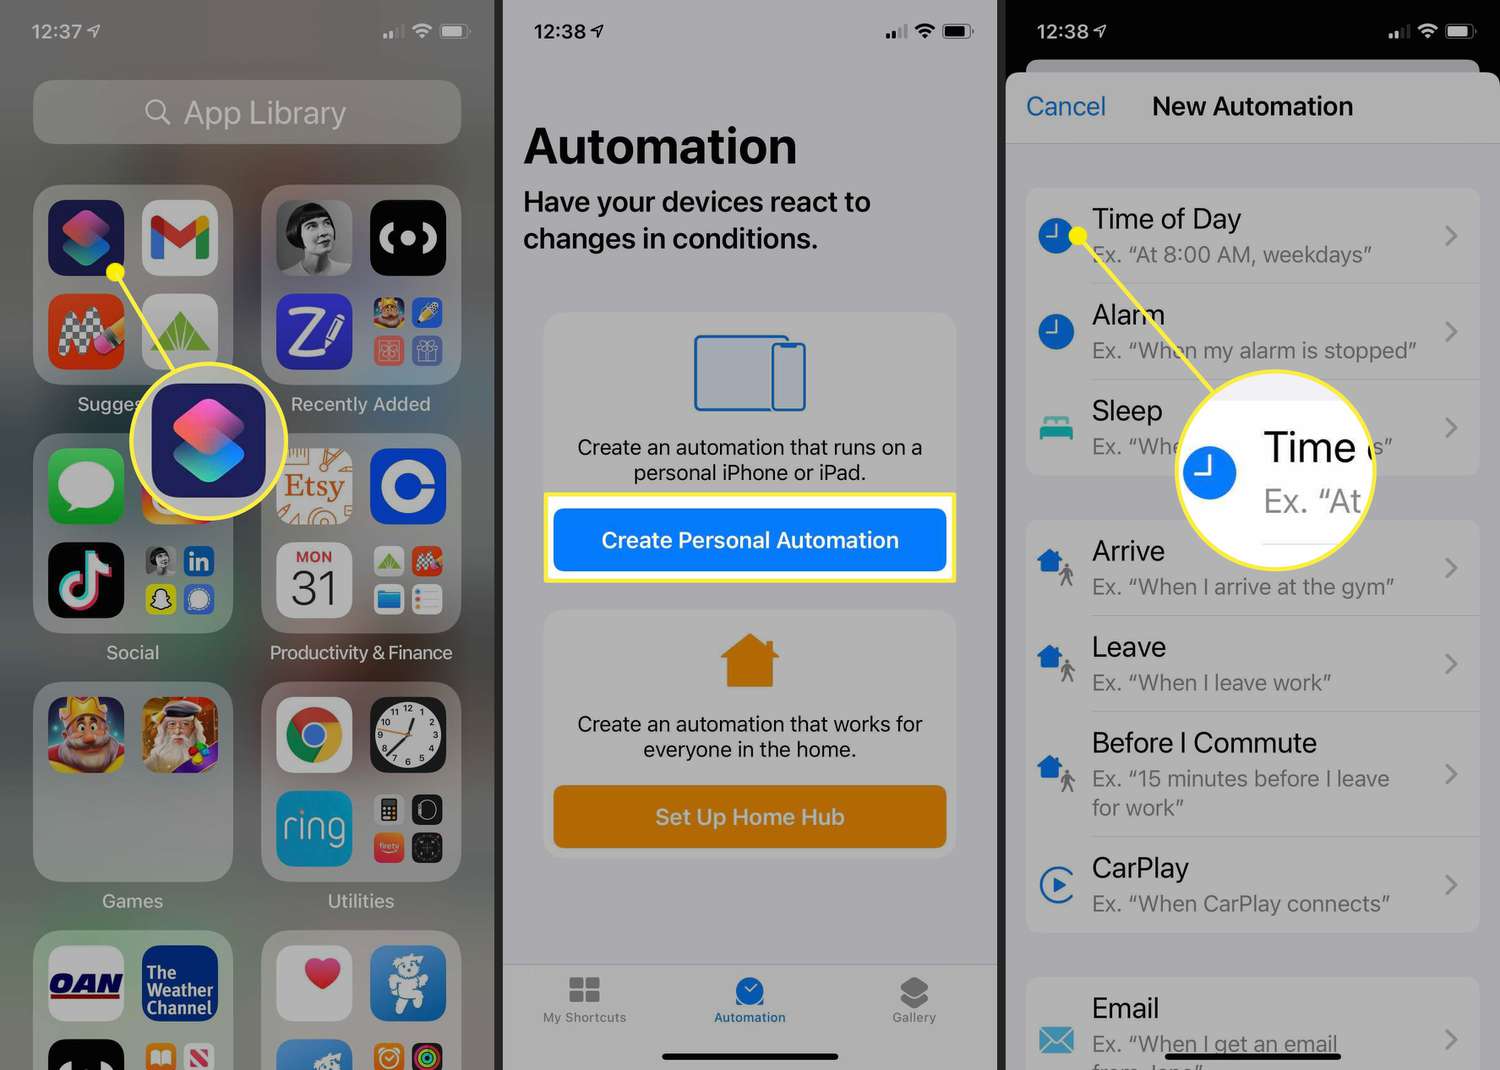
- Go to the Automation Tab: In the Shortcuts app, tap on the “Automation” tab at the bottom.
- Create a New Automation:
- Tap the “+” icon and choose “Create Personal Automation.”
- Select Time of Day:
- Choose “Time of Day” and set the desired time to send your scheduled text.
- Choose the Shortcut:
- Select the shortcut you created in the previous step.
- Confirm and Save: Tap “Next,” review your automation, and then tap “Done.”
Step 3: Allow Notifications
To ensure your scheduled text goes through, make sure to enable notifications for the Shortcuts app. This ensures you’re reminded and can confirm the action when it’s time to send the message.
How to Schedule a Text on iPhone: How to Schedule a Text on iPhone: How to Schedule a Text on iPhone: How to Schedule a Text on iPhone:
Additional Tips
- Test Your Shortcut: Before relying on it, send a test message to ensure everything is working as expected.
- Consider Time Zones: If your recipient is in a different time zone, account for the time difference when scheduling your text.
- Stay Updated: Regularly check for updates to your iPhone, as Apple frequently adds new features and improvements to the Shortcuts app.
Last word of How to Schedule a Text on iPhone:
Scheduling texts on your iPhone can significantly enhance your communication efficiency. By utilizing the Shortcuts app, you can automate your messages and ensure they are sent exactly when you want them. This feature is perfect for reminders, follow-ups, or simply keeping in touch without the hassle of manual texting. Give it a try today and experience the convenience of automated messaging!
