Master Your Screen Effortlessly Record Your iPhone Screen with Voice
Are you looking to enhance your content creation skills by recording your iPhone screen along with your voice? You’re in luck! Apple makes this process incredibly simple, allowing you to capture both your screen and voice in just a few taps. Whether you’re creating tutorial videos for your YouTube channel or sharing valuable tips with friends and family, mastering the art of screen recording can significantly elevate your communication. Let’s dive into how you can seamlessly record your iPhone screen with voice.
The Power of Screen Recording
Screen recording is an invaluable tool that allows you to showcase your iPhone’s features, share gameplay, or create educational content without needing any third-party apps. Apple’s built-in screen recording feature not only records your screen but also enables you to capture your voice, making it ideal for creating engaging tutorials or walkthroughs. With this powerful feature, you can communicate ideas more clearly, helping your viewers grasp concepts easily.
How to Record Your iPhone Screen with Voice
Recording your screen with voice is a straightforward process. Just follow these simple steps:
- Access the Control Center: The first step is to access the Control Center on your iPhone. For iPhones with Face ID, swipe down from the top-right corner of the screen. If you have an iPhone with a Home button, swipe up from the bottom edge of the screen. This action reveals a panel with various controls.
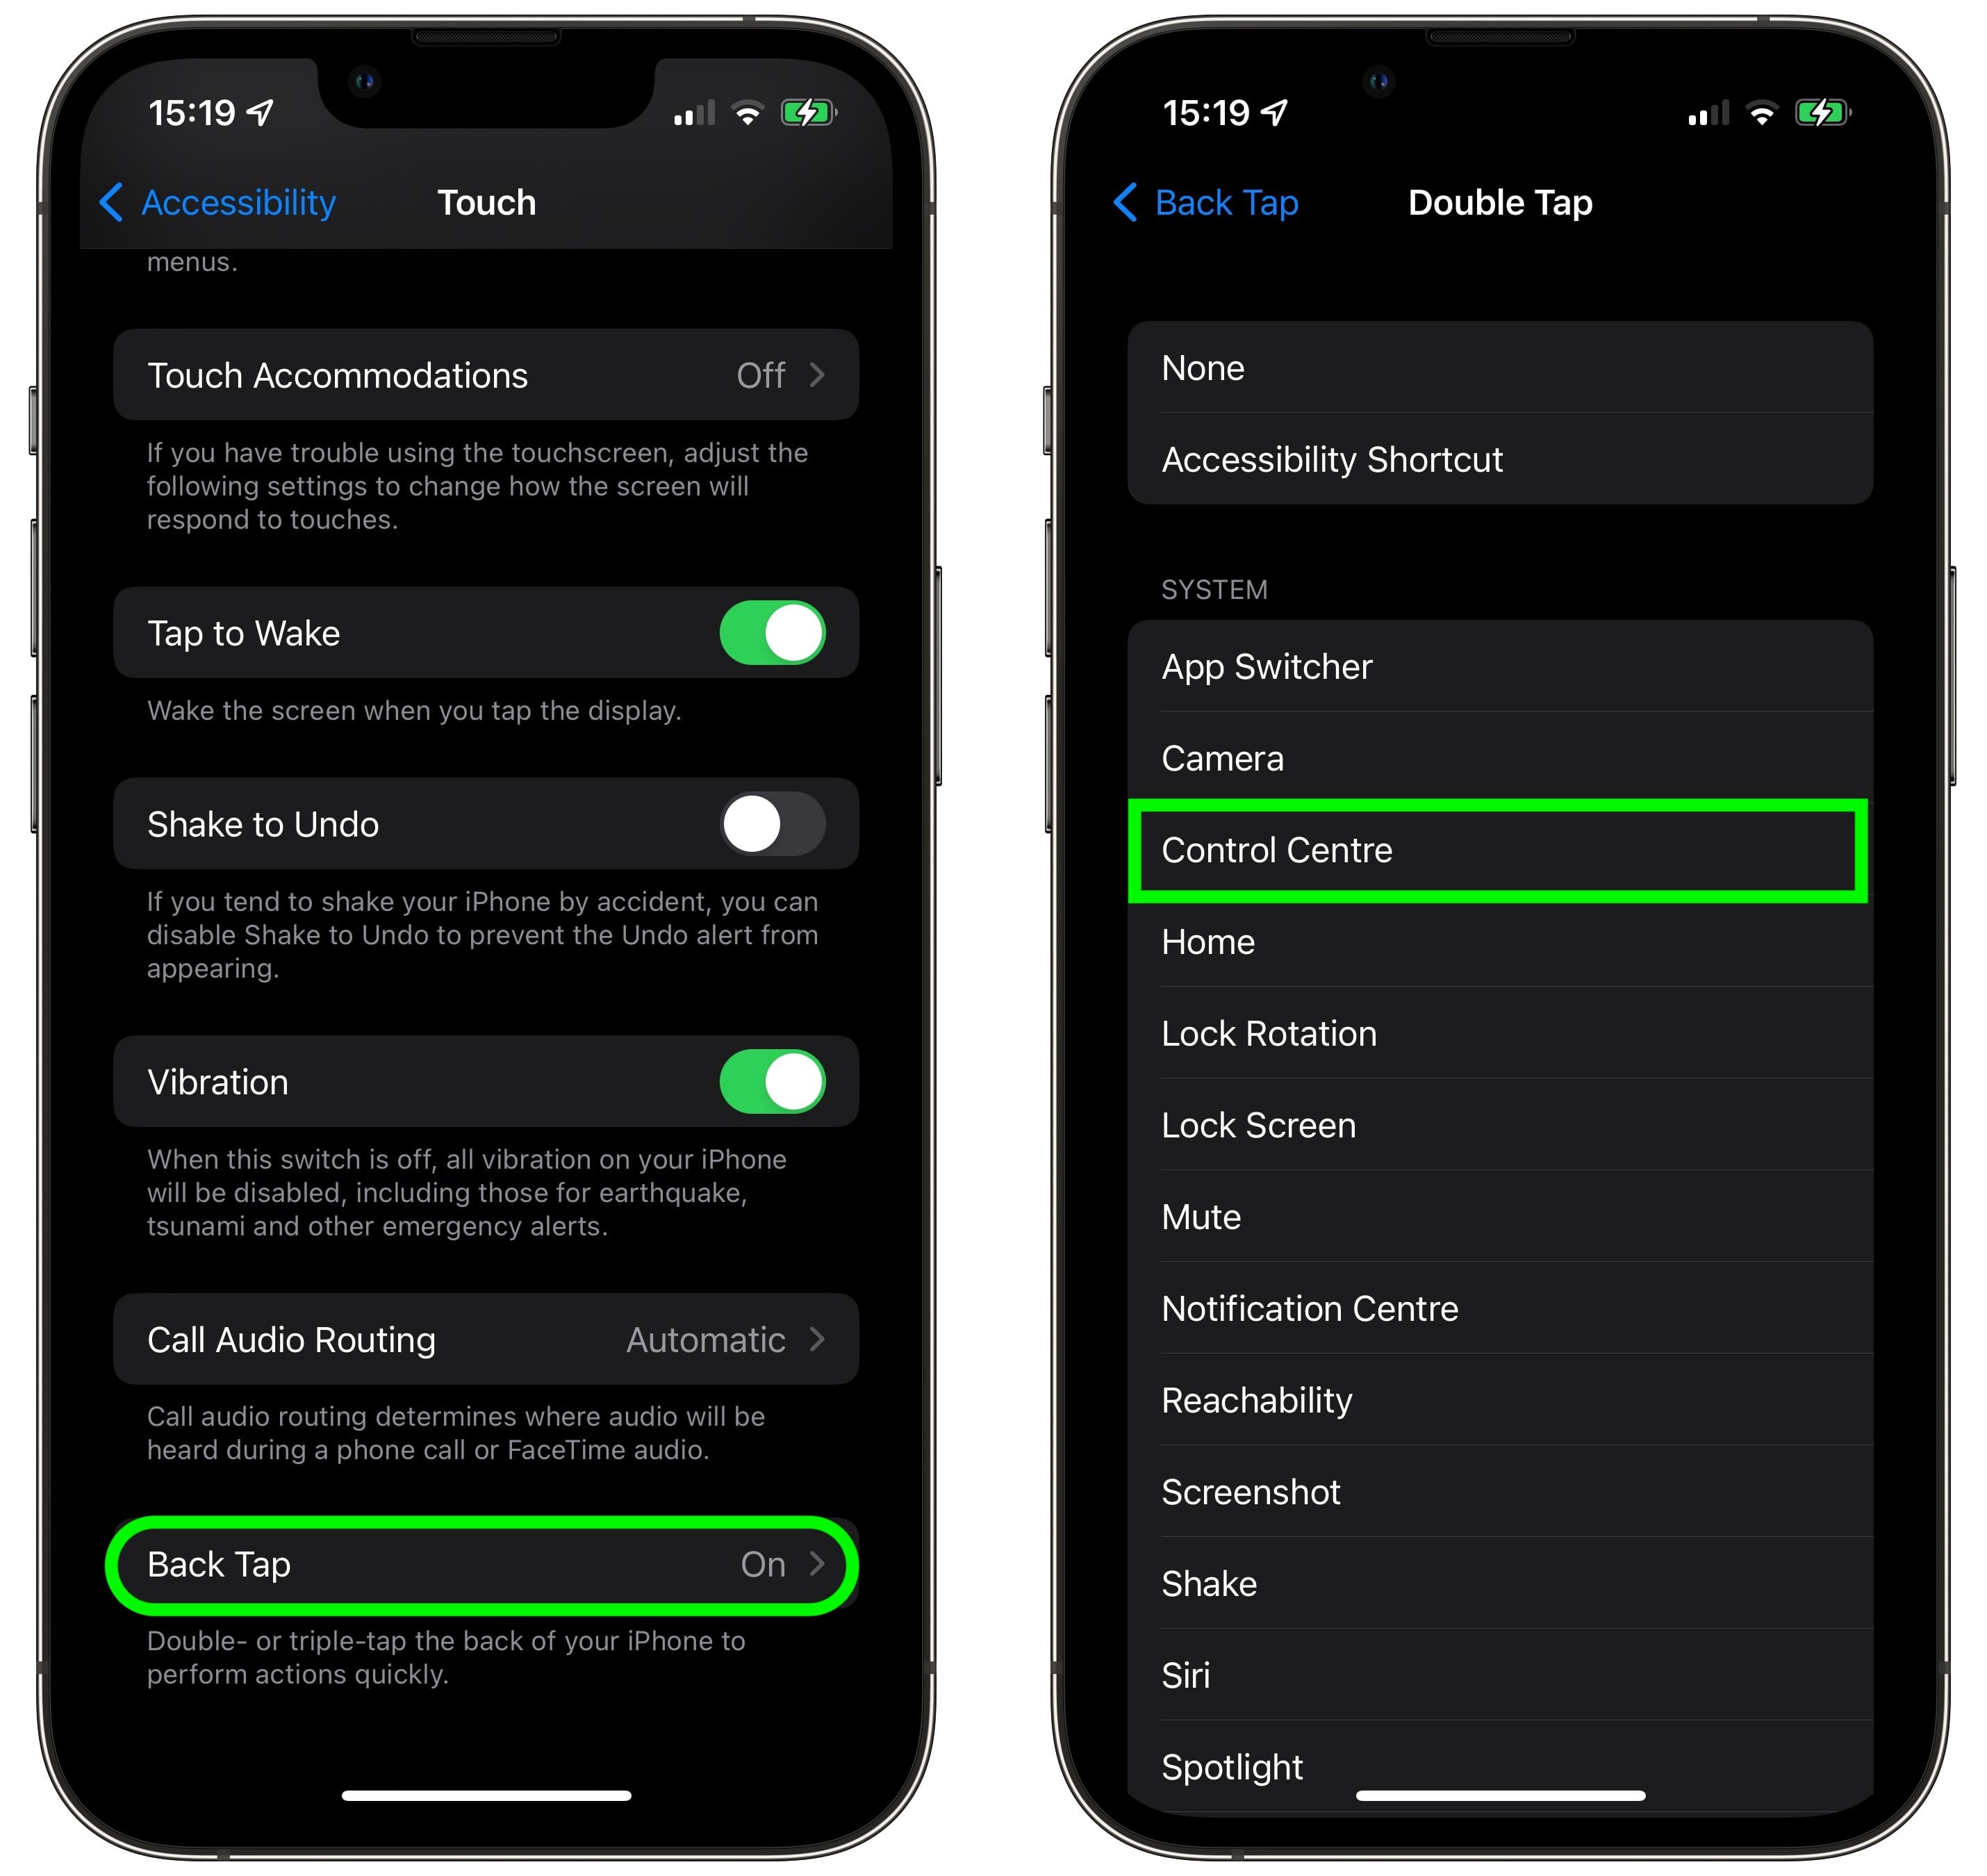
Access the Control Center Effortlessly Record Your iPhone Screen with Voice
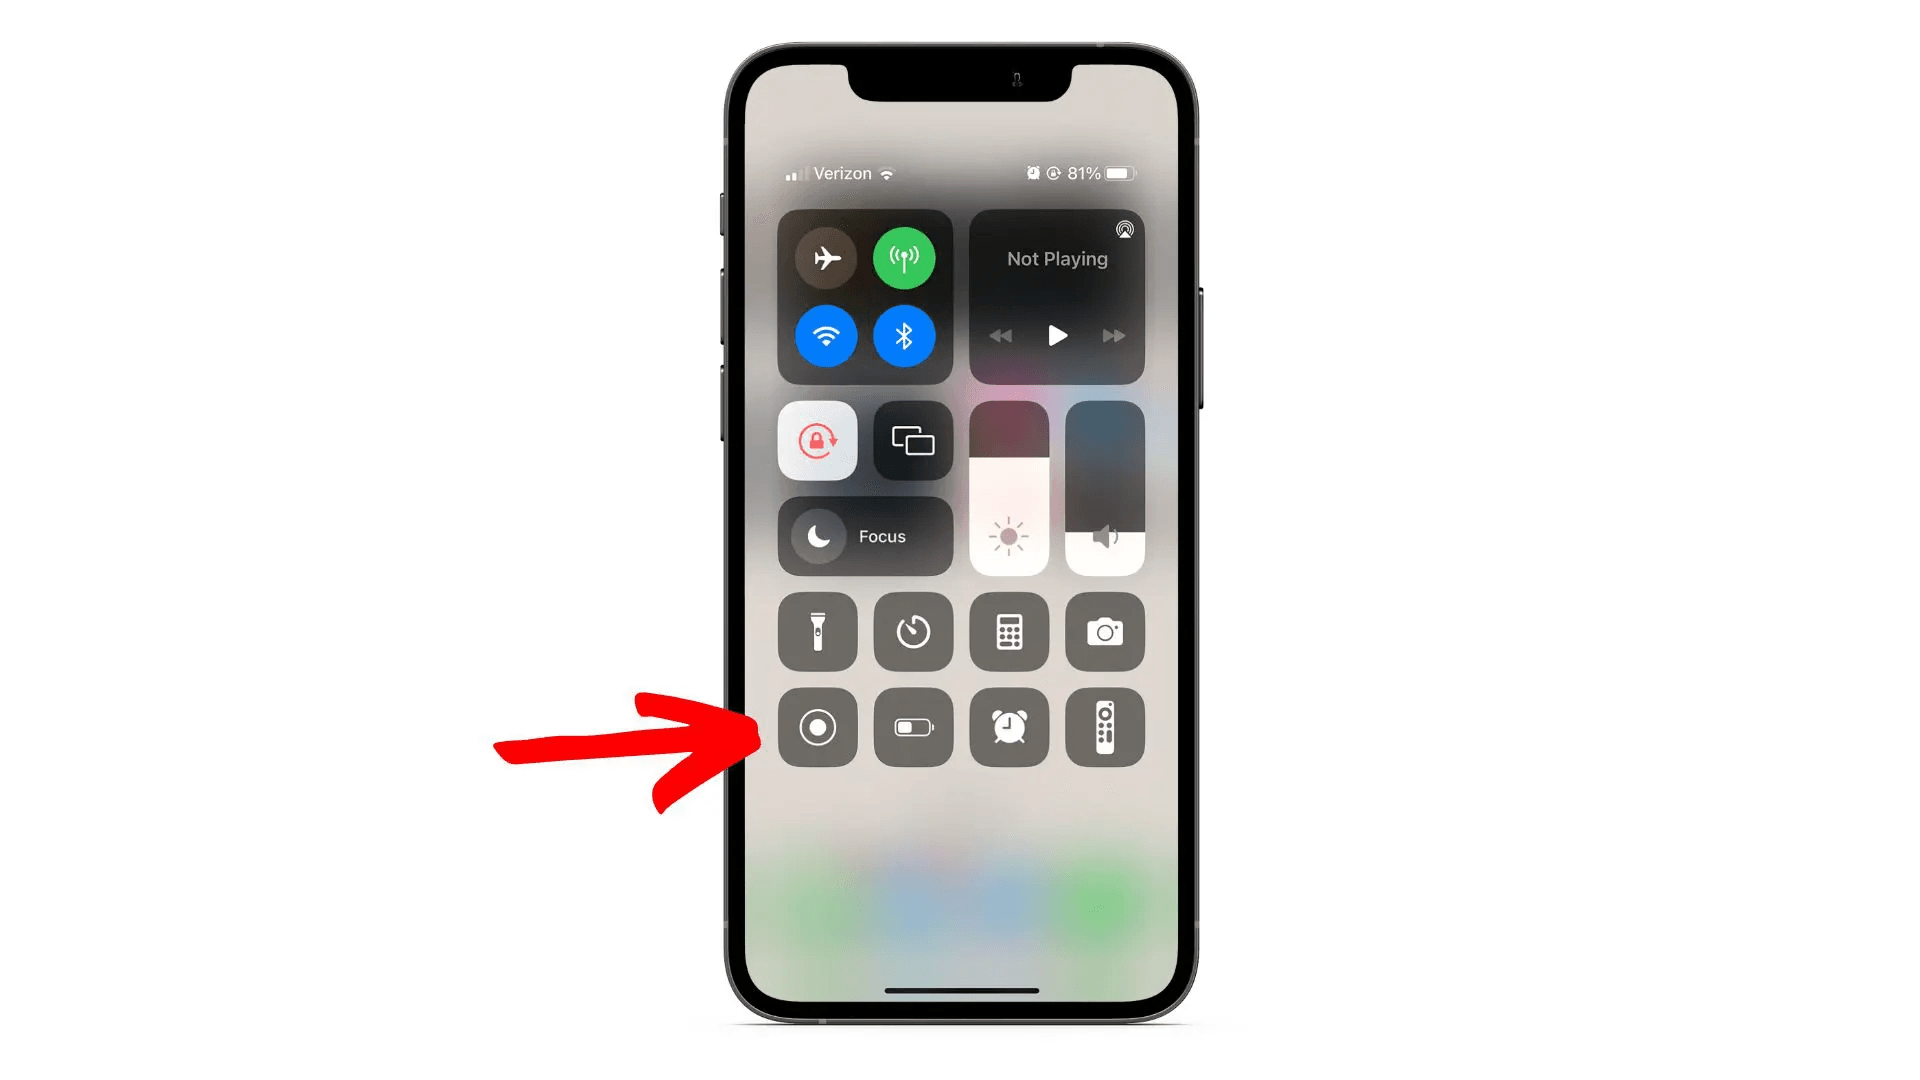
- Locate the Screen Recording Icon: In the Control Center, look for the screen recording icon, which resembles a dot within a circle. By default, it is located at the bottom right corner of the Control Center. If you don’t see it, you may need to add it through the Settings app under Control Center.
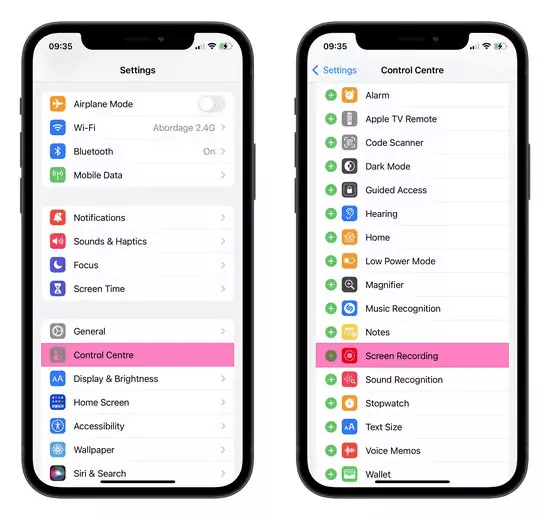
Locate the Screen Recording Icon Effortlessly Record Your iPhone Screen with Voice
- Enable Microphone Audio: To record your voice along with the screen, press and hold the screen recording icon for a couple of seconds. This action will open a pop-up menu where you will find a Microphone button. Tap this button so that it shows “Microphone on.” This indicates that your iPhone will record audio from your microphone.
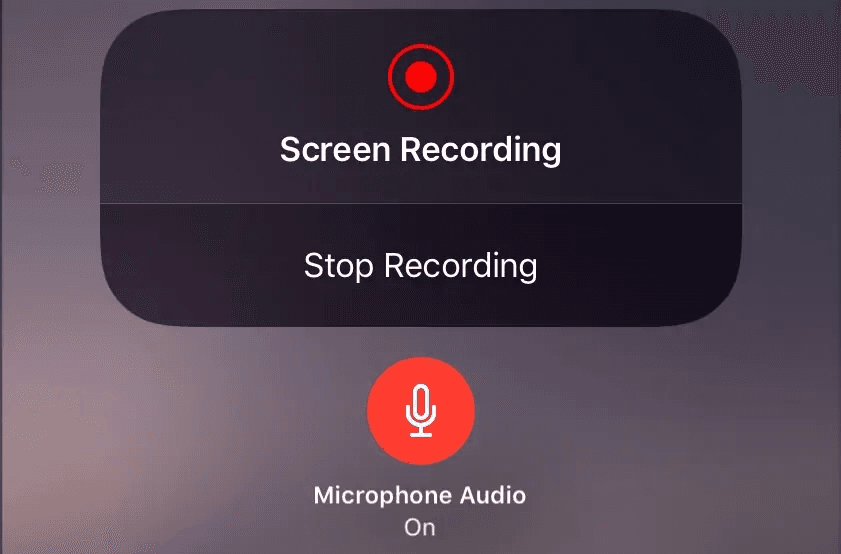
Enable Microphone Audio Effortlessly Record Your iPhone Screen with Voice
- Start Recording: After enabling the microphone, simply tap the “Start Recording” button, which is the circular button at the bottom of the menu. You will see a countdown of three seconds, after which your iPhone will begin recording everything on your screen along with any audio.
Start Recording - Stop Recording: To stop the recording, tap the red status bar at the top of your screen and select “Stop.” Alternatively, you can return to the Control Center and tap the screen recording icon again. Your video will be saved automatically to the Photos app, where you can review, edit, and share it.
Effortlessly Record Your iPhone Screen with Voice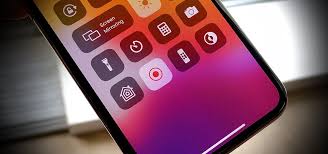
Stop Recording Effortlessly Record Your iPhone Screen with Voice
Practical Uses for Screen Recording
The potential applications for screen recording are vast. Here are some practical uses to consider:
- Tutorials and How-To Videos: Share your expertise by creating step-by-step guides for using apps or features on the iPhone. Whether it’s showing how to navigate settings or how to utilize specific apps, video tutorials are highly effective.
- Game Streaming: If you enjoy mobile gaming, you can record your gameplay sessions and share them with friends or upload them to platforms like YouTube or Twitch. This way, you can showcase your skills or provide tips and strategies.
- Feedback and Support: When seeking help from friends or tech support, recording your screen can help illustrate the problem more clearly. This visual aid can save time and enhance understanding.
- Capturing Moments: Record your screen to capture fleeting moments or features on your device, such as unique app interactions or special notifications.
Enhancing Your iPhone Experience with iPhone 15 Features
Speaking of the iPhone, the recently launched iPhone 15 has exciting upgrades that complement the screen recording feature. Introduced during Apple’s Wonderlust event, the iPhone 15 lineup includes significant improvements that enhance user experience.
- Dynamic Island Notch: All models now feature the innovative Dynamic Island notch, which provides a more immersive experience and enhances notifications.
- 48-Megapixel Camera: The upgraded camera system allows for stunning photography and videography, so if you’re recording tutorials or capturing moments, the quality will be exceptional.
- A16 Bionic Chip: The iPhone 15 is powered by Apple’s latest A16 Bionic processor, ensuring smooth performance while running apps or recording.
- USB Type-C Charging: Apple has transitioned to USB Type-C charging, providing more convenience and compatibility with various devices.
Final Thoughts
Recording your iPhone screen with voice is an incredibly useful feature that can help you create engaging content, troubleshoot issues, or simply share moments with friends and family. With the steps outlined above, you can easily capture both your screen and your voice, transforming how you communicate digitally.
As you explore the new capabilities of the iPhone 15, consider how screen recording can enhance your overall experience. Whether for work, leisure, or social interactions, mastering this feature will undoubtedly elevate your iPhone usage to new heights. So go ahead, start recording, and unleash your creativity!
Effortlessly Record Your iPhone Screen with Voice
Effortlessly Record Your iPhone Screen with Voice
Effortlessly Record Your iPhone Screen with Voice
1 thought on “Master Your Screen Effortlessly Record Your iPhone Screen with Voice 2024”
Comments are closed.