How to Get Your iPhone Ready for Repair
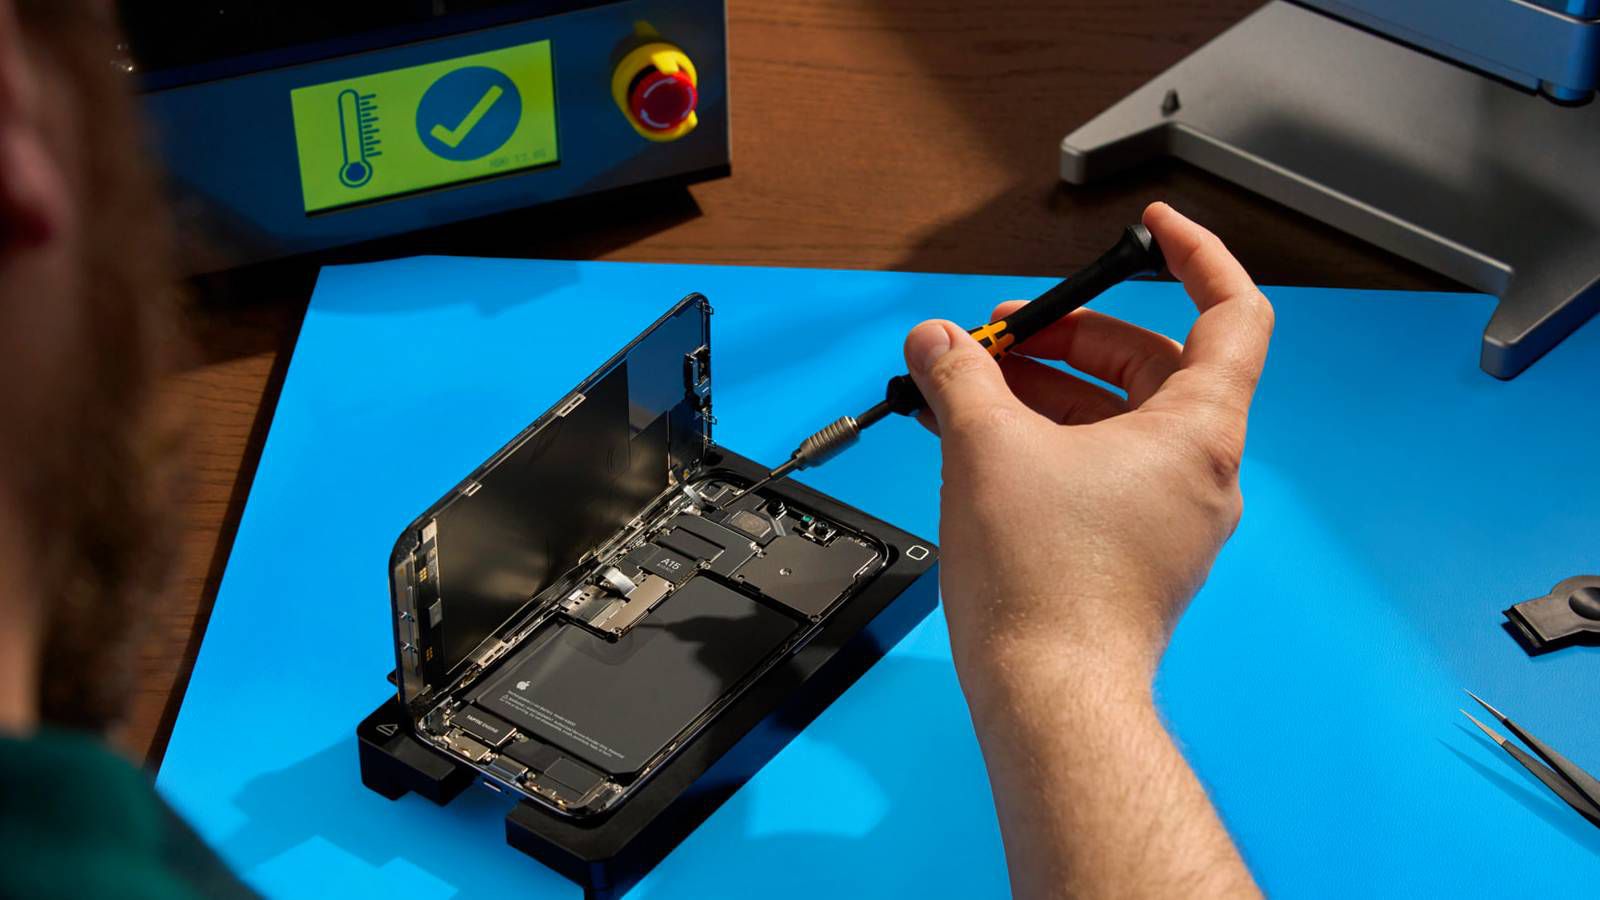
How to Get Your iPhone Ready for Repair In iOS 17.5, Apple added a “Repair State” feature that’s designed to allow an iPhone to be sent in for service without having to deactivate Find My and Activation Lock. Keep reading to learn how it works and why it’s worth using the next time you send an iPhone in for repair.
Before iOS 17.5 was released, sending an iPhone to Apple for repair required disabling Find My, since Apple states that it “might not” repair devices with Find My activated. However, disabling Find My also turns off Activation Lock, a crucial security feature that prevents unauthorized use of an iPhone with a different Apple ID.
Apple relies on Find My and Activation Lock to verify device ownership and prevent theft. When Find My is turned off, the iPhone cannot be tracked and is vulnerable to theft during the repair process. Also, if the device is lost or stolen in transit, it cannot be recovered. Worse, turning off Find My involves a one-hour delay, which prolongs the repair process.
To avoid Find My deactivation, Apple in iOS 17.5 introduced a new “Repair State” feature that allows Find My to remain active, keeping Activation Lock enabled and the iPhone trackable through the Find My app during repairs. When the feature is enabled, the device will display a “Ready for Repair” label, indicating that it remains fully functional in this state.
Get Ready for iPhone Repair – How to Get Your iPhone Ready for Repair
How to Get Your iPhone Ready for Repair – Before enabling the Repair State feature on your iPhone, there are also a couple of other recommended steps to perform prior to sending your device to Apple. First and foremost, you should back up your iPhone. You can back up your device either to your computer or via iCloud.
In addition, for security reasons you should remove any cards and passes from Apple Wallet: Open the Wallet app, select a card or pass, tap the More button, then tap Card (or Pass) Details. Lastly, tap Remove Card (or Pass).
When you’ve performed the above steps, you’re ready to enable Repair State:
- Open the Find My app on your iPhone.
- Select your iPhone in the Devices list.
- Tap Remove This Device at the bottom of the card.
- Tap Continue at the prompt to enable Repair State.

When the feature is enabled in Find My, the iPhone shows a stethoscope icon and can still be marked as lost. Note that the iPhone must be online and trackable via Find My for the repair state option to be available. If the iPhone is offline, it will show the standard removal text.
